
Start With The View Line, Not The Rail
When people ask for a balcony rail, they often start with the material. The better question is where the top line will sit in relation to the eye line from the main seating area. If the rail is too high, it cuts across the view. If it is too low or too open, it can feel unsafe and may not meet practical requirements for drop height and child safety.
In Knysna, many homes look out over water, forest or a slope, so a few millimetres on paper can matter. We usually begin with site measuring and a proper look at how the balcony is used. A braai corner, stackable chairs, or a sliding door opening outwards can change the best rail position more than people expect.
- Measure from the finished floor level, not the raw slab
- Check the main viewing position, not only the doorway
- Allow for door swing, furniture and cleaning access
- Confirm the height needed for child safety and local approval
Choose A Profile That Works In Coastal Air
Coastal humidity and salt carry in the air along the Garden Route, especially in places like Sedgefield, Plettenberg Bay and Wilderness. That makes material choice more than a style decision. Stainless steel is a sensible option because it handles corrosion better than many painted systems, but the grade, finish and fixing method still matter.
For balcony work, a cleaner section size can keep the rail visually light. Round or square tube can both work, but the spacing, weld finishing and anchor detail must suit the location. If the property sits close to the sea, we also look at how water will drain off the rail and whether any contact points will trap moisture.
- Use stainless suitable for coastal conditions
- Avoid hidden pockets where water can sit
- Keep fixings and base plates easy to inspect
- Plan for maintenance checks, not only installation day
Balancing Open Space With Safe Spacing
A balcony rail should feel open, but not so open that it invites trouble. The spacing between vertical bars, horizontal members or infill sections needs careful thought. Families with children, guest houses and rental units all need a different level of caution. In a holiday property, you want a view that guests enjoy. You also want peace of mind when children lean, climb or push toys toward the edge.
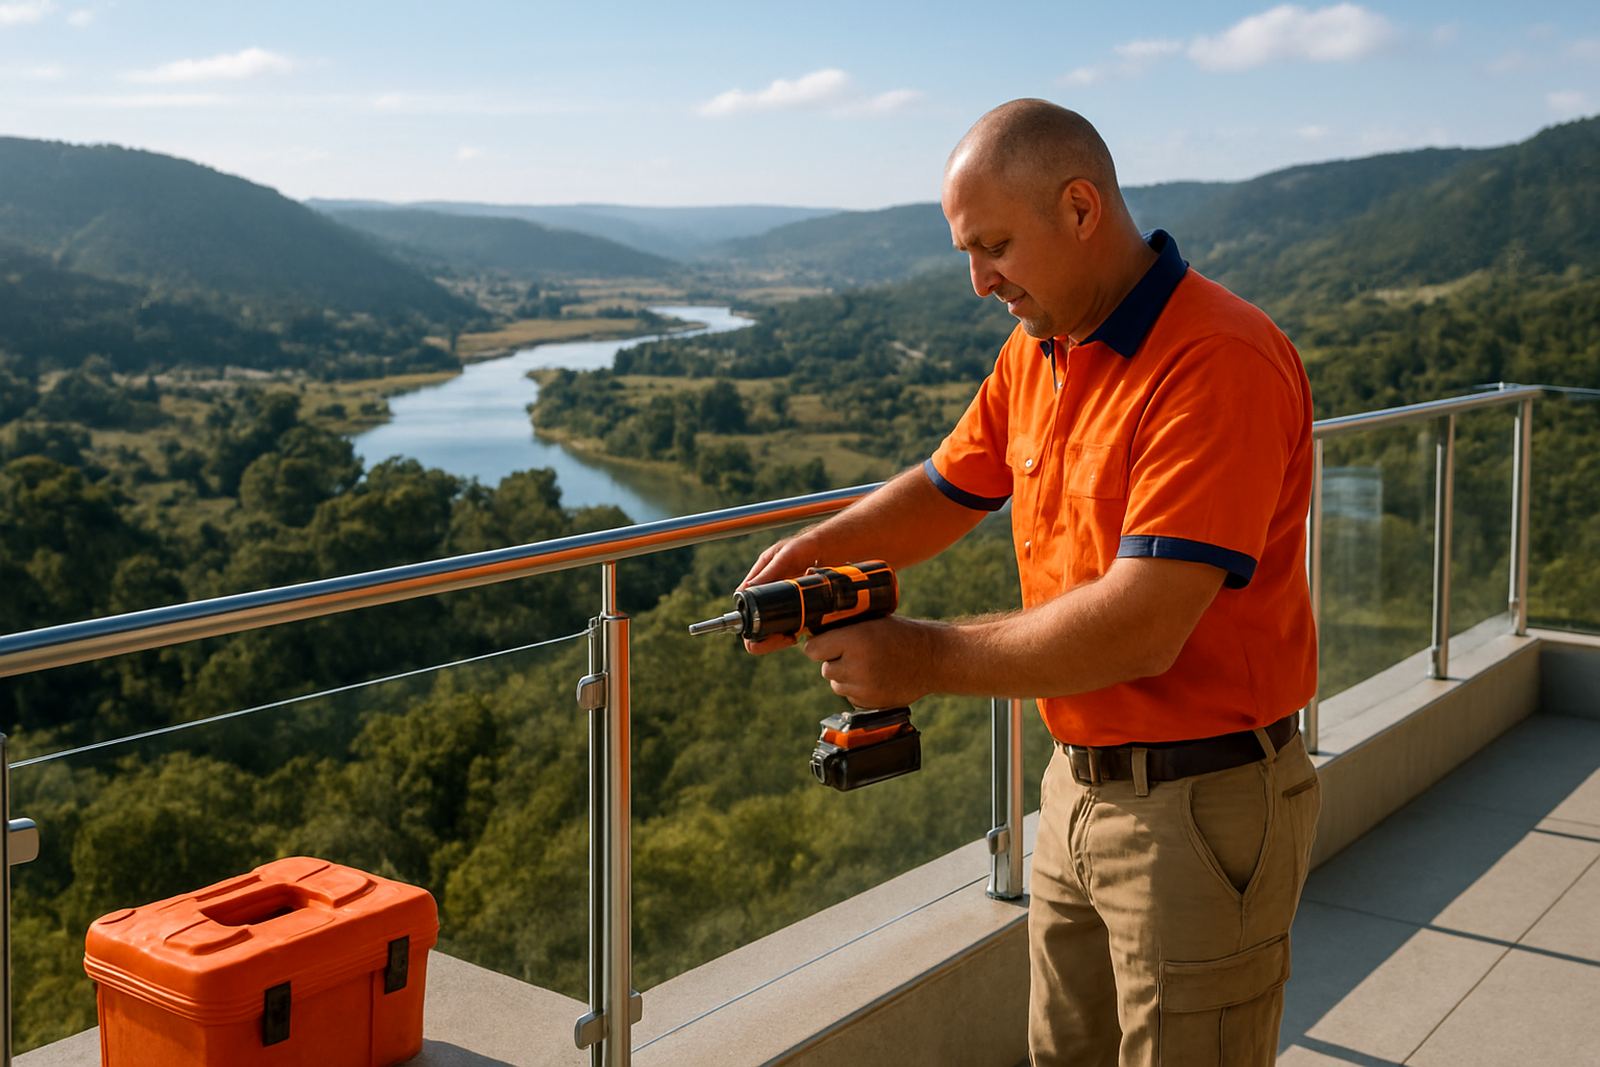
Glass can be used with stainless frames when the design calls for a clearer outlook, but it needs correct fitment and good detailing around clips, channels and seals. On a windy site, the rail must also resist rattle and movement. If the design flexes, people notice it straight away. That is not the feel you want on a balcony overlooking the lagoon or a valley.
- Keep openings practical for child safety
- Use proper anchors into sound structure
- Check the wind exposure of the site
- Choose a finish that does not glare harshly in afternoon sun
Match The Rail To The Building Style
One of the quickest ways to spoil a good view is to install a rail that looks bolted on as an afterthought. The profile, finish and post spacing should suit the building. A modern home in George may suit slimmer lines and cleaner joints. A coastal cottage in Mossel Bay might need something simpler and less reflective. A guest lodge in Plettenberg Bay may want a more polished look that still feels practical.
The right rail does not shout for attention. It should sit with the roof shape, wall colours and balcony size. We often prepare shop drawings before fabrication so the client can see how the structure will sit against the opening. That step saves time later and reduces the chance of an awkward support landing in the middle of a view corridor.
- Keep post positions clear of main sight lines
- Coordinate the rail finish with window frames and paving
- Use clean end details at corners and returns
- Check how the rail looks from inside and outside
Installation Details That Make A Difference
Even the best design can fail if the installation is rushed. Balcony rails rely on sound fixing, clean drilling and accurate levels. On older homes in Knysna or Sedgefield, the slab edge may not be perfectly square, and hidden repairs or moisture damage can change what is possible. That is why onsite installation needs to start with a proper check, not just a tape measure and a drill.
We also look at sealing around anchors, the thickness of the base material and whether any part of the balcony has been patched before. If a rail is installed into weak concrete or old timber, movement will show up later as squeaks, corrosion marks or loose fasteners. In some cases, a small repair or surface restoration first is the better path.
- Confirm the fixing surface is sound before drilling
- Use level lines that follow the finished floor
- Seal penetrations to limit water ingress
- Test every section before handover
A Local Example From The Knysna Side
We recently worked on a balcony in Knysna Industria overlooking a tree line with a distant water view. The owner wanted a railing that would meet safety needs but not sit heavy against the opening. The challenge was a narrow balcony, a slight fall in the slab and strong afternoon light bouncing off the water. A thick-looking rail would have blocked too much of the outlook.
After site measuring, we set the height to suit the interior viewing position and used a slimmer stainless arrangement with carefully spaced members. The owner also asked for glass fitment in one section near the main sitting area. That gave an open feel where the family spent the most time, while the rest of the balcony kept a practical stainless frame. The result was not about showing off. It simply worked for the house and the way the family used the space.
This is the point many balcony projects miss. The best rail is the one that answers the site, the people and the weather at once. Not just the one that looks neat in a photo.
Plan For Maintenance Before The First Weld
Balcony views are usually chosen for long-term enjoyment, so the rail should be planned with maintenance in mind. Stainless still benefits from washing, inspection and the occasional surface restoration, especially in salty or humid areas. If a balcony is high up or awkward to reach, make sure cleaning can be done safely without leaning far over the edge.
For homes, guest houses and small lodges across the Garden Route, it helps to include maintenance checks in the schedule. That means looking at fixings, seals, welds and any glass edges before small issues grow. A balcony rail is not something you fit and forget. It is a working part of the building that has to stay steady through wind, rain and holiday traffic.
- Wash salt build-up off on a regular basis
- Inspect fixings after heavy weather
- Check for discolouration or movement early
- Keep a record of repairs and upgrades