
Why clear project photos save time on custom stainless quotes
When we quote for stainless work, we are not only pricing material. We are checking access, fixing points, span lengths, finish requirements, safety clearances and how the item will be installed on site. A clear set of photos helps us understand the job before we visit, which means fewer missed details and a quicker quote back to you.
In Knysna and along the Garden Route, many jobs are on timber decks, older masonry walls, wet coastal sites or properties with tight access. A photo can show us things that are easy to miss on the phone, like a slope in the floor, a cracked edge where a post should sit, or a gate opening that is not quite square. That saves time for everyone and helps avoid change work later.
If you are in a rush after load-shedding, or trying to get a balustrade ready before tenants move in, the right photos are often the difference between a quick estimate and a delayed one. It also helps us decide whether we need a site measure first or whether we can work from the information you send.
Take wide shots first, then close-ups of the details
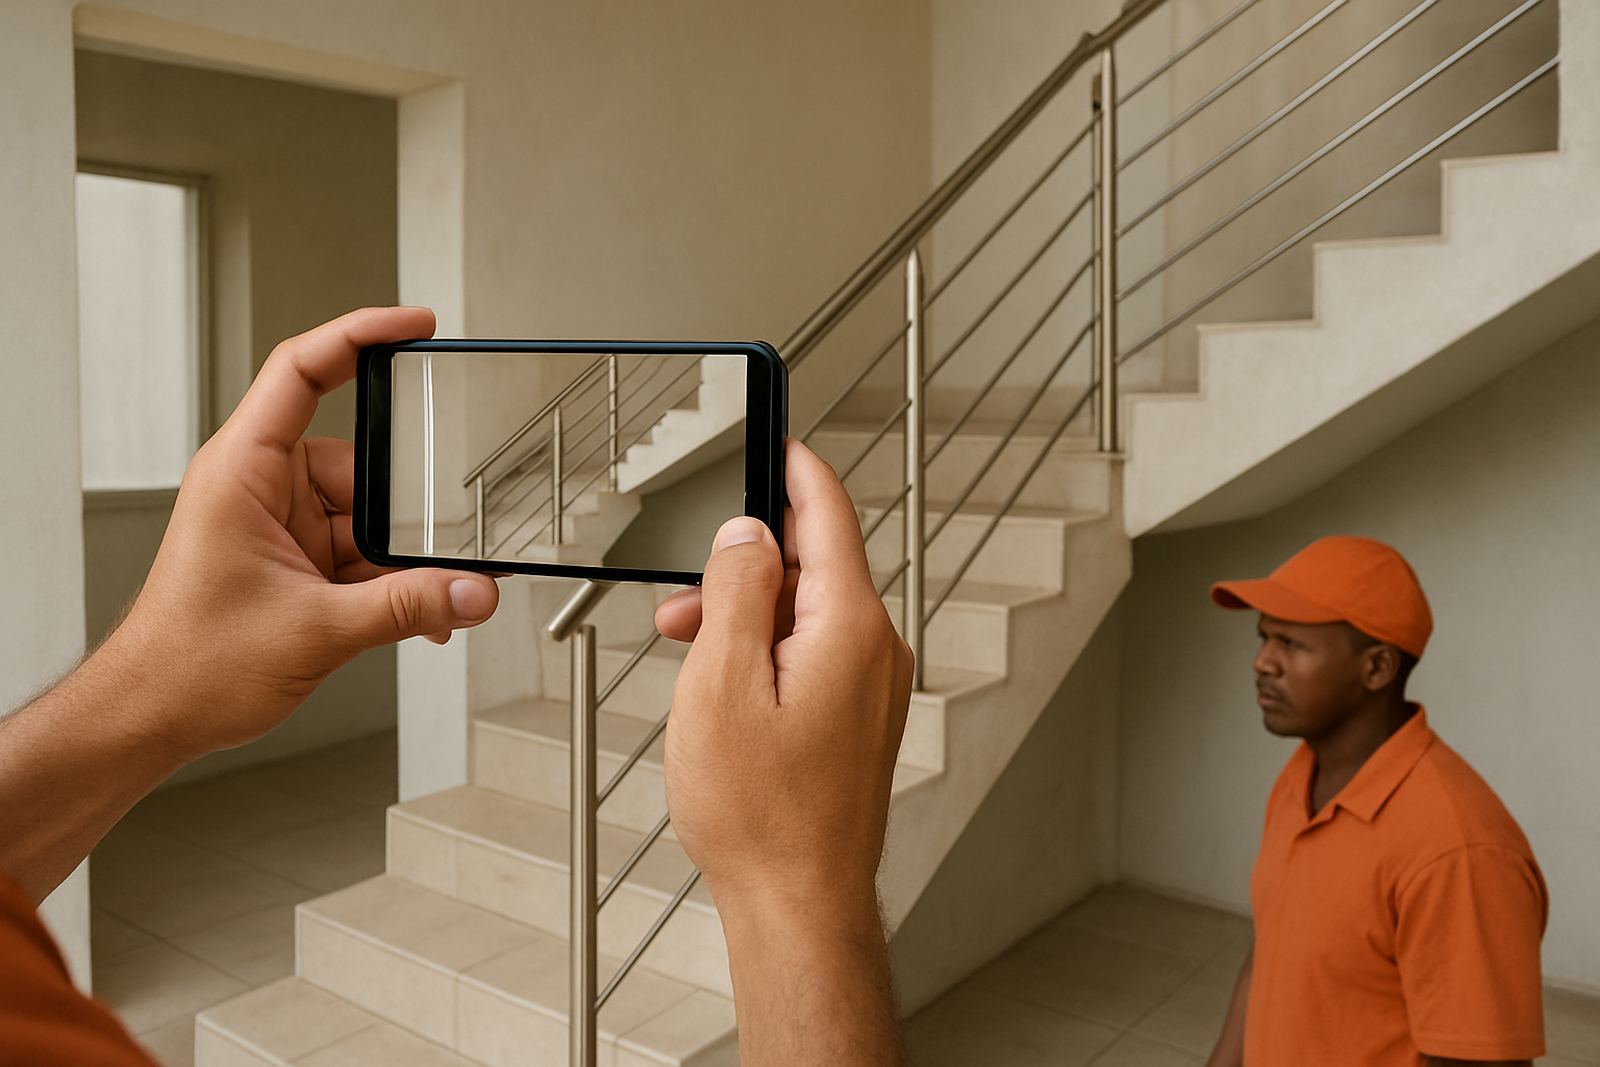
Start with a wide shot of the whole area. Step back far enough to show the full opening, the surrounding wall, floor, stairs, or deck and any nearby items that might affect installation. Then take closer photos of the fixing points, corners, joins and anything unusual.
For balustrades and handrails, we need to see where the posts could land, how the line runs, and whether there is a drop-off, step or change in level. For gates, show the opening from both sides, the swing direction and any slope on the driveway or pathway. For marine or coastal jobs, include any existing corrosion, water traps, or old fittings that may need removal.
- One wide photo from each side of the area
- One close-up of each corner, end point or join
- One photo showing the ground, floor or wall surface at the fixing point
- One photo of any current damage, rust, or loose fittings
- One photo showing access to the area, especially if ladders or lifting gear will be needed
The measurements that matter most when we price a job
Photos tell us what we are looking at, but measurements tell us whether the job will fit. If you send the right dimensions with the pictures, we can usually get to a much tighter estimate. You do not need to be a surveyor, just measure the main spans as neatly as you can and note where each measurement came from.
For a balustrade or handrail, measure the total length, the height needed and the size of any steps or landings. For gates, measure the opening width, the height from ground to top line, and the available swing space. For custom parts, measure the finished size, thickness if relevant, and the diameter of pipes, rails or existing fittings that need to connect to the new item.
- Overall length, width and height in millimetres
- Height changes between one end and the other
- Distance between fixing points
- Clear opening size for gates or access panels
- Any thickness of glass, plate, pipe or existing brackets that we must match
If you only have a tape measure and a phone, that is enough to start. A rough sketch with the measurements written on it also helps, even if it is not neat. Just make sure the numbers are readable and tied to the correct side of the opening, otherwise we may have to check them again.
Show the site conditions that affect installation
The same stainless item can need different fabrication details depending on where it is going. A balustrade near the sea in Sedgefield or Wilderness faces salt in the air, while a gate in George may need different hinge or latch placement because of slope or wind. That is why we ask for site condition photos, not just product photos.
Please include anything that could affect the fitting on the day. This might be wall type, paving condition, existing tile lines, ceiling height, roof overhangs, drainage, or whether the area is still under construction. If there is a municipal boundary wall, shared driveway or body corporate rule to work around, mention it early so we can allow for it in the quote.
It also helps to note if the area has power nearby for tools or if access is limited during certain hours. On some coastal jobs we need to plan around weather and moisture too, because a wet surface can slow down stainless repairs or surface restoration. A few extra photos now can prevent a wasted trip later.
For gates and hardware, include the movement and locking details
Gates need more than a front view. We need to see how they open, where they stop, and what hardware is already there if any. A photo of the latch side, hinge side and the ground line can tell us whether the gate will bind, scrape or need a different bracket layout.
If you are asking for gate hardware fitment, send photos of the current hinges, lock box, strike plate and handle position. If the gate is part of a larger boundary or security layout, show the nearby wall, pillar or post so we can check the fixing points. In Knysna and Plettenberg Bay, we often see old gates with shifted posts after heavy rain, so the more clearly you show movement or leaning, the better.
- Gate opening from the outside and from inside
- Close-up of hinge side and latch side
- Photo of the ground line under the gate
- Photo of any existing lock, handle or catch
- Photo showing whether the gate should swing inward or outward
A local example from Knysna Industria to a Garden Route home
Here is a simple example. A homeowner in Knysna needed a stainless balustrade for a stair landing before guests arrived. They sent three wide photos, two close-ups of the wall fixing points, a rough sketch with measurements and one photo of the staircase from the bottom. Because the opening, height and access were clear, we could quote faster and flag one issue early: the wall edge needed a different fixing detail than first expected.
That early notice saved a return trip and kept the installation moving. The job was measured properly, the shop drawing was straightforward, and the site team arrived with the right material lengths and fittings. For a small family build or a larger renovation, that is the value of a proper photo checklist. It keeps the quote honest and the work cleaner.
If you are not sure whether your photos are enough, send what you have anyway. We can tell you what is still needed before the job is priced, and in many cases a short follow-up message is all it takes to finish the picture. A quick photo today can save days of delay later.
What to send with your enquiry to projects@sisonkemanufacturing.co.za
To keep things moving, send the project photos together with your contact details and the area name, such as Knysna, Sedgefield, George or Mossel Bay. It helps if you also mention the item type, for example balustrade, handrail, gate, marine fitout, repair or maintenance check. If the site is on the coast or exposed to weather, say so up front.
Below is the simplest package to send:
- Your name, phone number and site town
- Clear photos of the full area and the detail points
- Measured lengths, heights and openings in millimetres
- Any notes about access, slopes, power cuts or weather exposure
- Any finish preference, such as brushed stainless, polished stainless or mixed glass and steel
That basic set is usually enough for us to start pricing and decide whether a site measure is needed. If you have an older stainless item that needs repair or restoration, include a close-up of the damaged area and one photo of the whole unit. The better the photos and sizes, the better the quote.