
Start With How People Move Through the Space
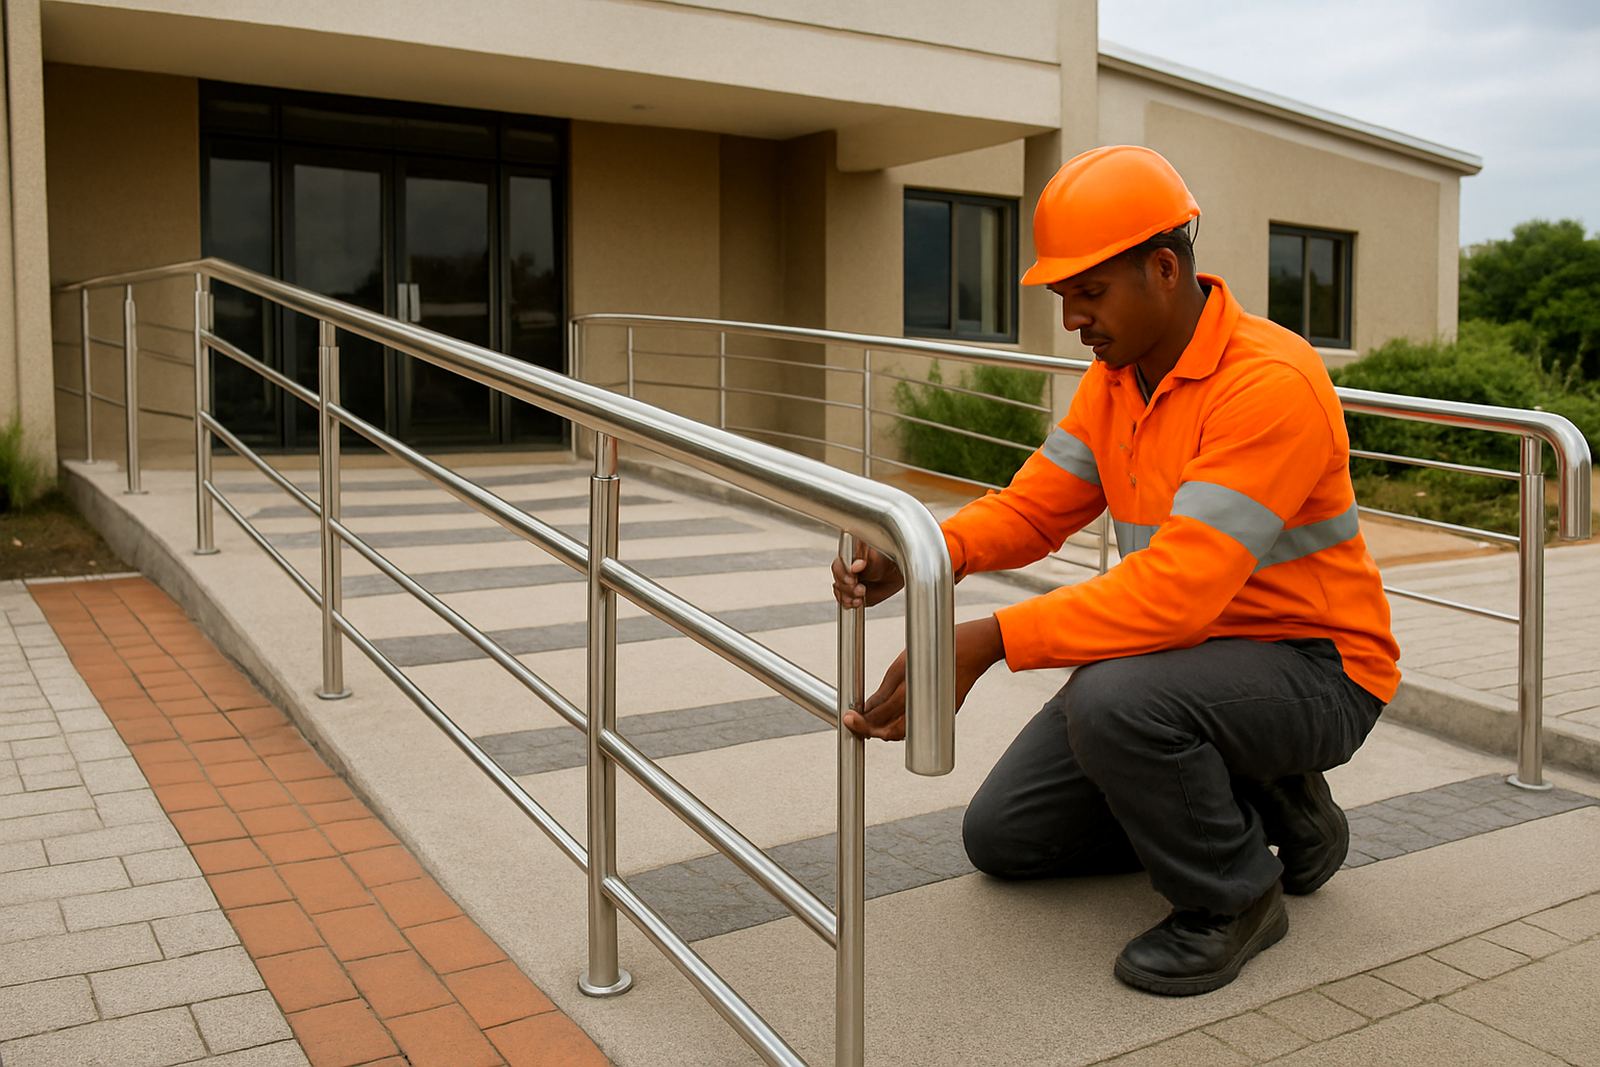
Before a single bracket is marked, look at how people actually use the stairs, ramp or walkway. In Knysna and along the coast, we often see handrails fitted to suit the wall line or the balustrade line, but not the person holding the rail. That is where the trouble starts. A handrail should follow the path of travel, with a clear, comfortable line from the first step to the last. If there is a landing, corner or gate nearby, the rail needs to make sense to the user, not just to the fabricator.
For homes, guest houses and small business entrances, a simple site walk-through helps. Check where someone will turn, pause, carry a box, or steady themselves in wet weather. On the Garden Route, rain and sea air mean surfaces can be slippery, so a handrail that feels natural in dry weather must still work when conditions change. That is why layout matters as much as material.
- Mark the full walking line before choosing fixings.
- Check door swing, step edges and landing widths.
- Leave enough space for a hand without scraping the wall or glass.
Keep the Run Continuous Where Possible
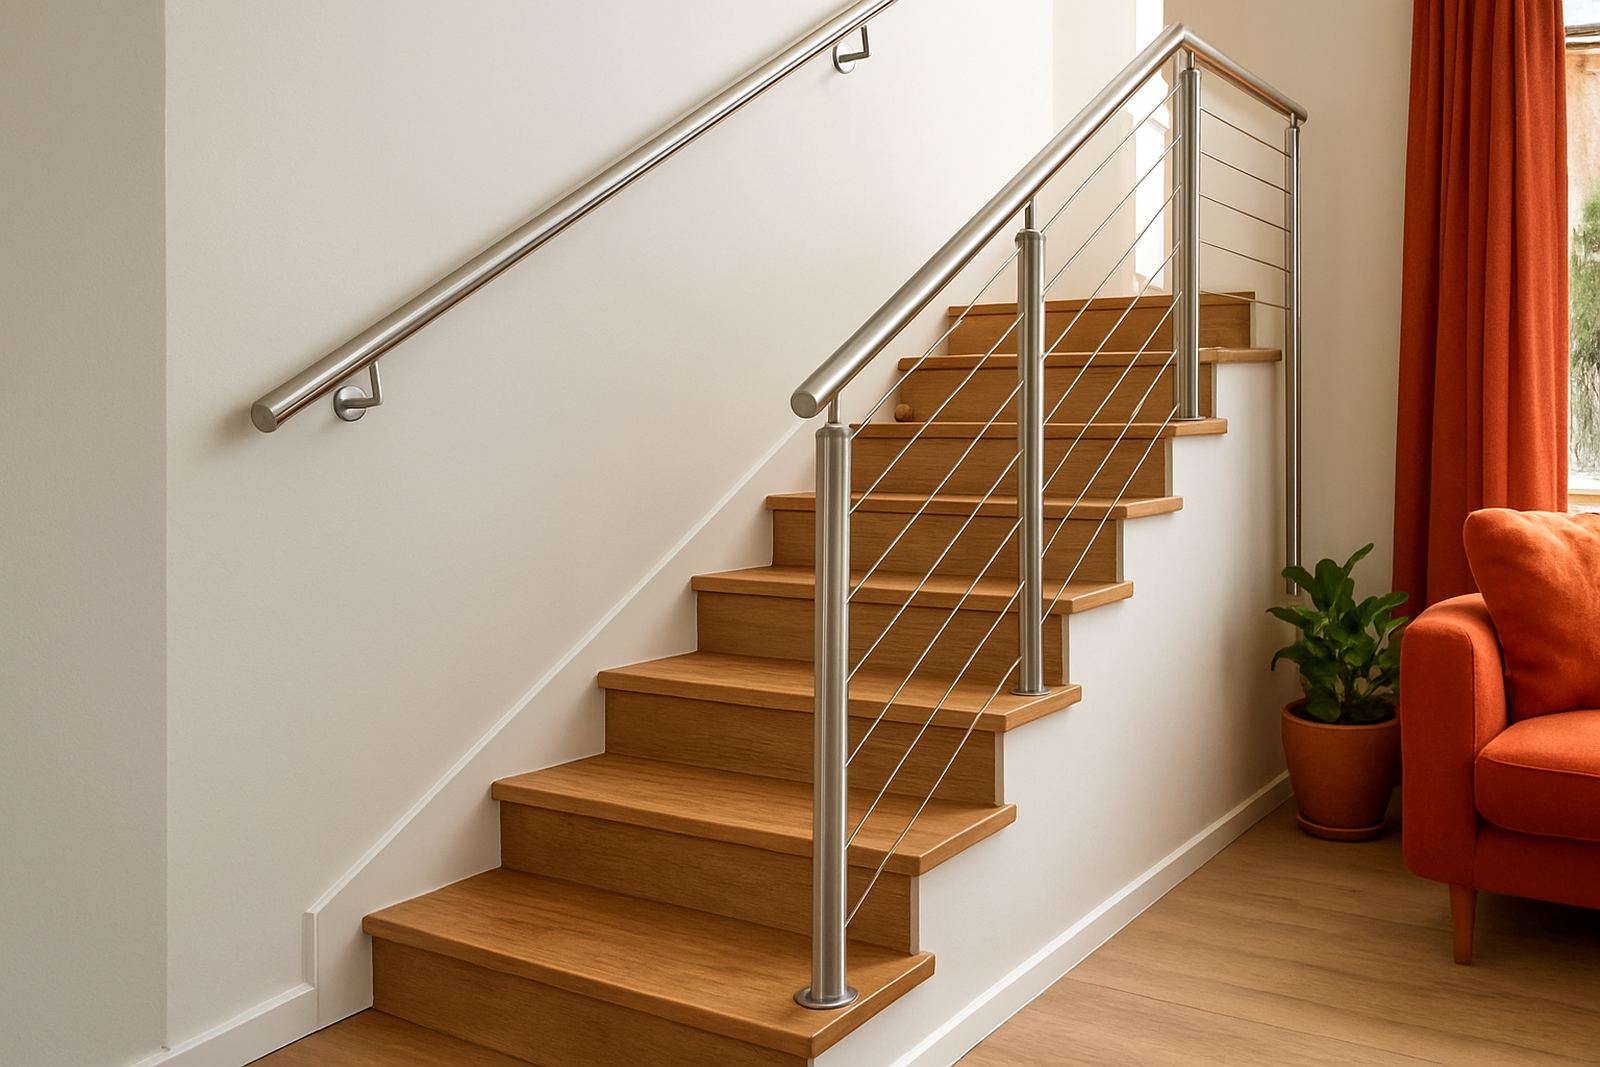
A handrail should guide the hand without constant breaks. Every stop, join or awkward turn creates hesitation. In many Knysna Industria workshops and coastal homes, the best layout is the one that keeps the rail continuous through the main run, then returns neatly at the ends. This helps with grip and also reduces loose ends that catch clothing or bags.
Where a stair turns at a landing, it is worth planning the return and the next run as one system. If the rail stops short of the landing edge, people lose support exactly where they need it most. If it projects too far, it can crowd a passage or become a bump point. The detail is small but it changes how the whole area feels and works.
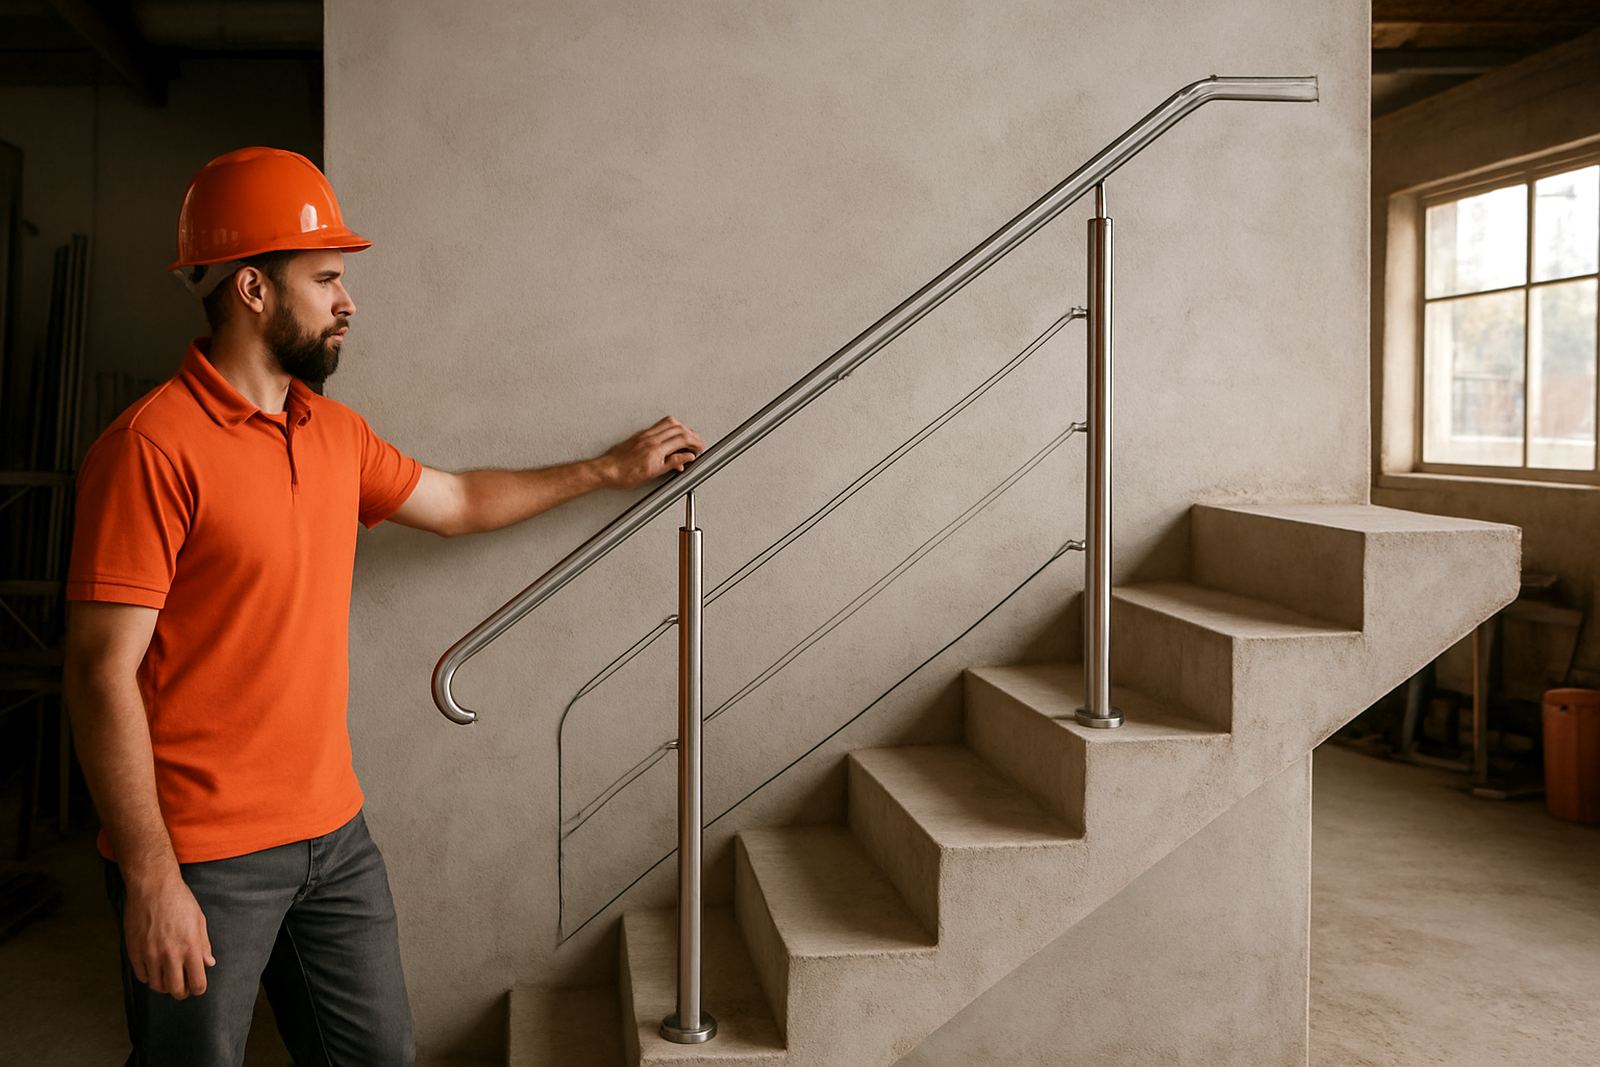
A proper return also gives the installation a cleaner finish and helps protect the end of the rail from knocks. For stainless handrails, that tidy end matters because once the layout is set and the fixing points are right, the rail is easier to maintain and less likely to loosen over time, especialy in salty air.
Plan Support Points Before Fabrication Starts
Support points are often treated as a final step, but they should be decided early. A rail that looks neat on paper can flex if the posts or wall brackets are spaced badly. The span between supports depends on the profile, the fixing surface and how the rail will be used. A busy entrance in George or a holiday house in Plettenberg Bay needs different thinking from a short private stair in Sedgefield.
When we do site measuring, we look at solid fixing points, hollow walls, concrete edges and areas exposed to vibration or repeated use. On older buildings, especially where repairs have been done before, there may be hidden issues behind plaster or tiles. If the layout ignores those realities, installation becomes slower and the finished rail can feel weak even if the steel itself is sound.
- Check whether the wall can take the load or needs a stronger bracket pattern.
- Allow for movement in timber, tiles and patched concrete.
- Keep fixings clear of pipe runs, cables and door frames.
Allow Enough Return at Ends and Corners
Returns are a small detail with a big safety role. A neat turn-back at the wall or post reduces the chance of clothing snagging and keeps the rail ending in a controlled way. In public-facing spaces, that matters because people move quickly and may not be watching the rail itself. A good return also makes the hand transition easier, especially for children, older users and anyone carrying shopping or tools.
Corners need the same attention. A tight internal corner can feel awkward if the handrail changes direction too sharply. An external corner can become a knock hazard if it projects into a passage. The best layout balances comfort with space. That means measuring the usable width after tiles, skirting, glass clamps or gate hardware have been accounted for. On one Mossel Bay stair we worked on, a small adjustment of 40 mm made the difference between a rail that blocked the turn and one that felt natural under the hand.
If the handrail links to a gate or landing barrier, the return should be coordinated with that hardware from the start. It saves rework and avoids the common problem of a rail end landing too close to a latch or hinge.
Match the Layout to the Material and Finish
Not every layout suits every material. Stainless steel handles coastal conditions well, but the profile, weld positions and finish all affect how the handrail works in practice. A round rail may be easier to grip on a steep stair, while a flatter section can suit a modern balustrade line. The finish also matters in bright light and in humid conditions where fingerprints and salt residue show up quickly.
In the Garden Route, we also think about cleaning access. If a rail sits too close to a wall, it becomes difficult to wipe down. If supports are too close together, the rail can look busy and trap dirt at the joints. A practical layout takes both the user and the person doing maintenance into account. That is especially true for holiday lets, body corporate properties and marine fitouts where the rail gets constant use.
- Choose a profile that suits the grip, not only the appearance.
- Allow cleaning space behind and below the rail.
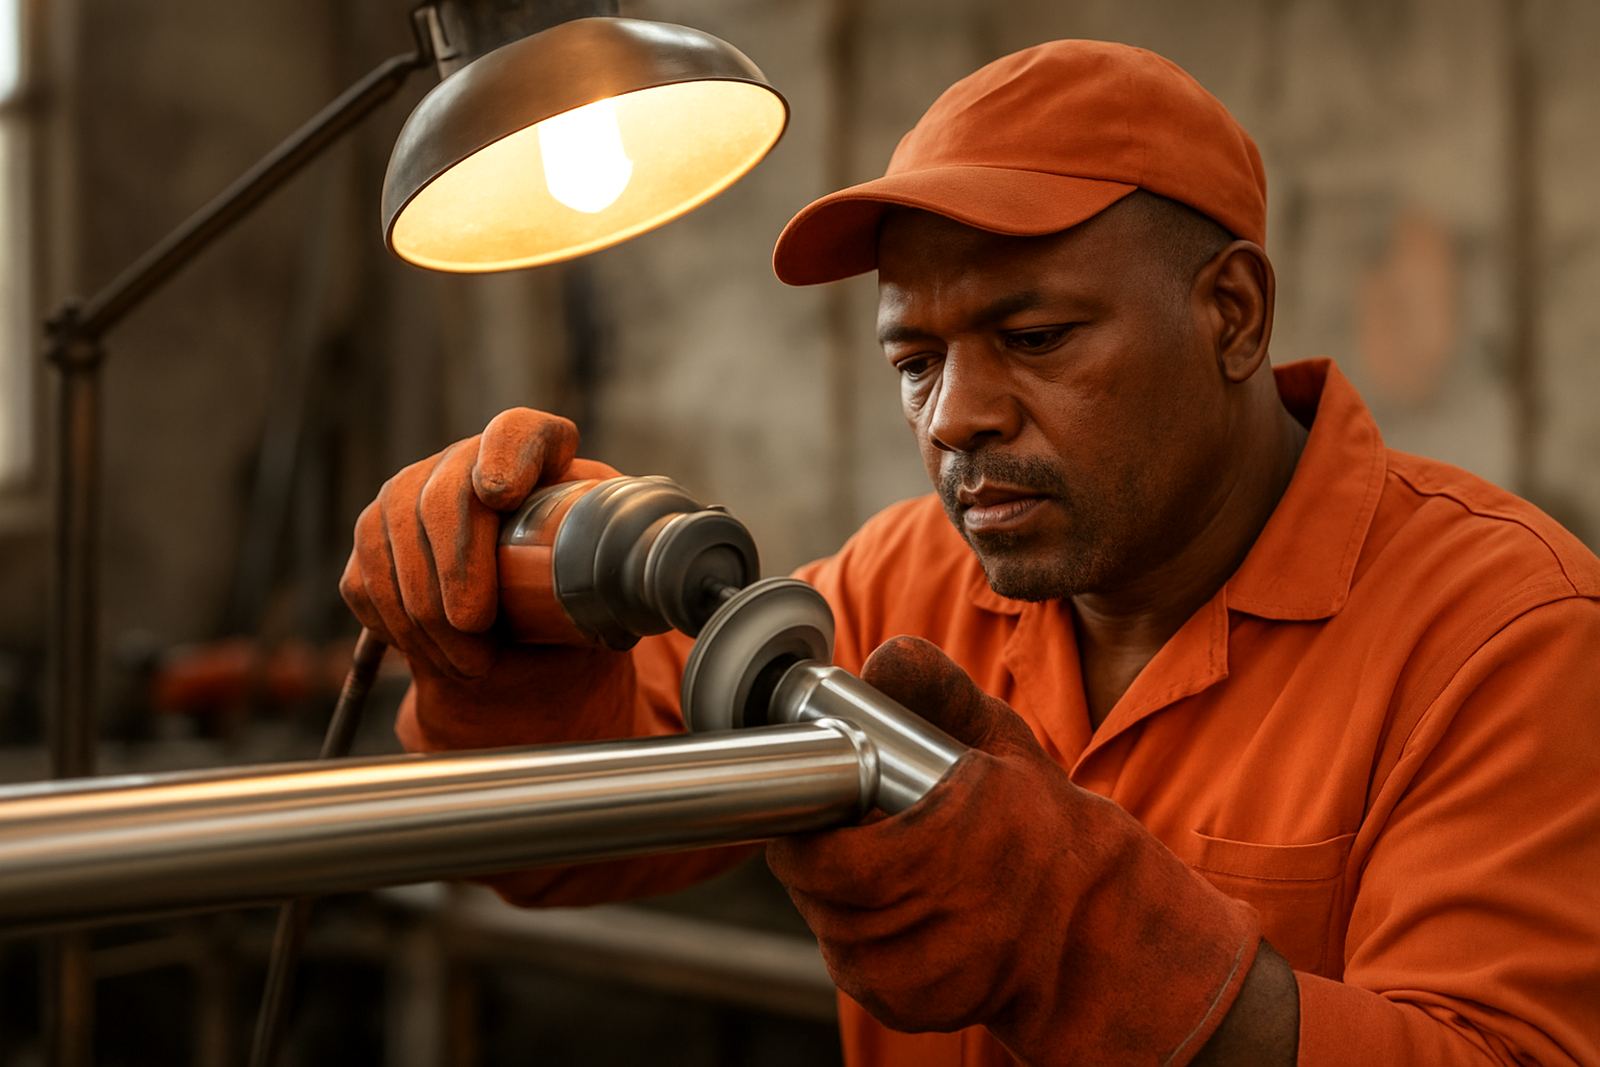
- Keep welds and joins where they can be finished properly and inspected later.
Think Ahead About Installation Conditions
Good layout on paper still needs to work on site. Load-shedding can interrupt power tools and delay drilling or polishing, so a handrail layout should be simple enough to install in stages if needed. Coastal humidity can also affect sealants and surface drying times. If the run is complicated, fitting becomes more difficult and the chance of misalignment grows.
We often advise clients to confirm measurements after tiling, paving or painting is complete. That avoids small errors that build up over a run of steps. In one Knysna home, the stair opening looked straight until the final floor finish went down. The rail line shifted enough to change the post positions by a few millimetres, and that would have thrown the return off completely if we had not checked again before fabrication.
A proper installation plan includes access for tools, enough working room around the base plates and a clear sequence for drilling, fixing and final alignment. If the site has strict body corporate rules or municipal access limits, those should be discussed before the handrail is cut. It saves time and stops unnecessary rework.
Use a Local Example to Test the Layout
For a small guest house in Wilderness, a handrail on an outdoor stair might need to cope with morning dew, sand on shoes and regular luggage traffic. In that case, the best layout is usually a continuous run with neat returns, support points set for real load, and a finish that can be wiped down quickly. If the stair turns near a door, the rail must leave enough room for someone to open the door while still holding on.
That is the real test of handrail layout basics. It should work for daily use without drawing attention to itself. When the run is measured correctly, the supports are placed with care and the returns are finished properly, the rail feels almost invisible in the best possible way. It just does its job, day after day, in sun, rain and sea air.
At Sisonke Stainless, we handle site measuring, shop drawings, custom fabrication and onsite installation across Knysna, Plettenberg Bay, Sedgefield, Wilderness, George and Mossel Bay. The layout comes first because once the line is right, the rest of the job follows more cleanly.