
Start With One Wide Photo And One Close Photo
When you send photos, start with a wide shot that shows the full area, then add close photos of the fixing points, edges and any damage. For balustrades and handrails, this gives us a better idea of height, length and how the work ties into the floor, wall or steps.
Try to take the photo in daylight if you can. A clear picture from a phone is usually enough, but avoid zooming too far because the detail gets grainy. If the area is inside and the light is poor, switch the torch on and take a second picture so we can see the surface properly.
- Stand back far enough to show the full opening or run
- Take one photo from each side where possible
- Include steps, corners, posts, walls or columns
- If there is rust or damage, get one close photo of that area
For Balustrades, Show Height, Drop And Fixing Points
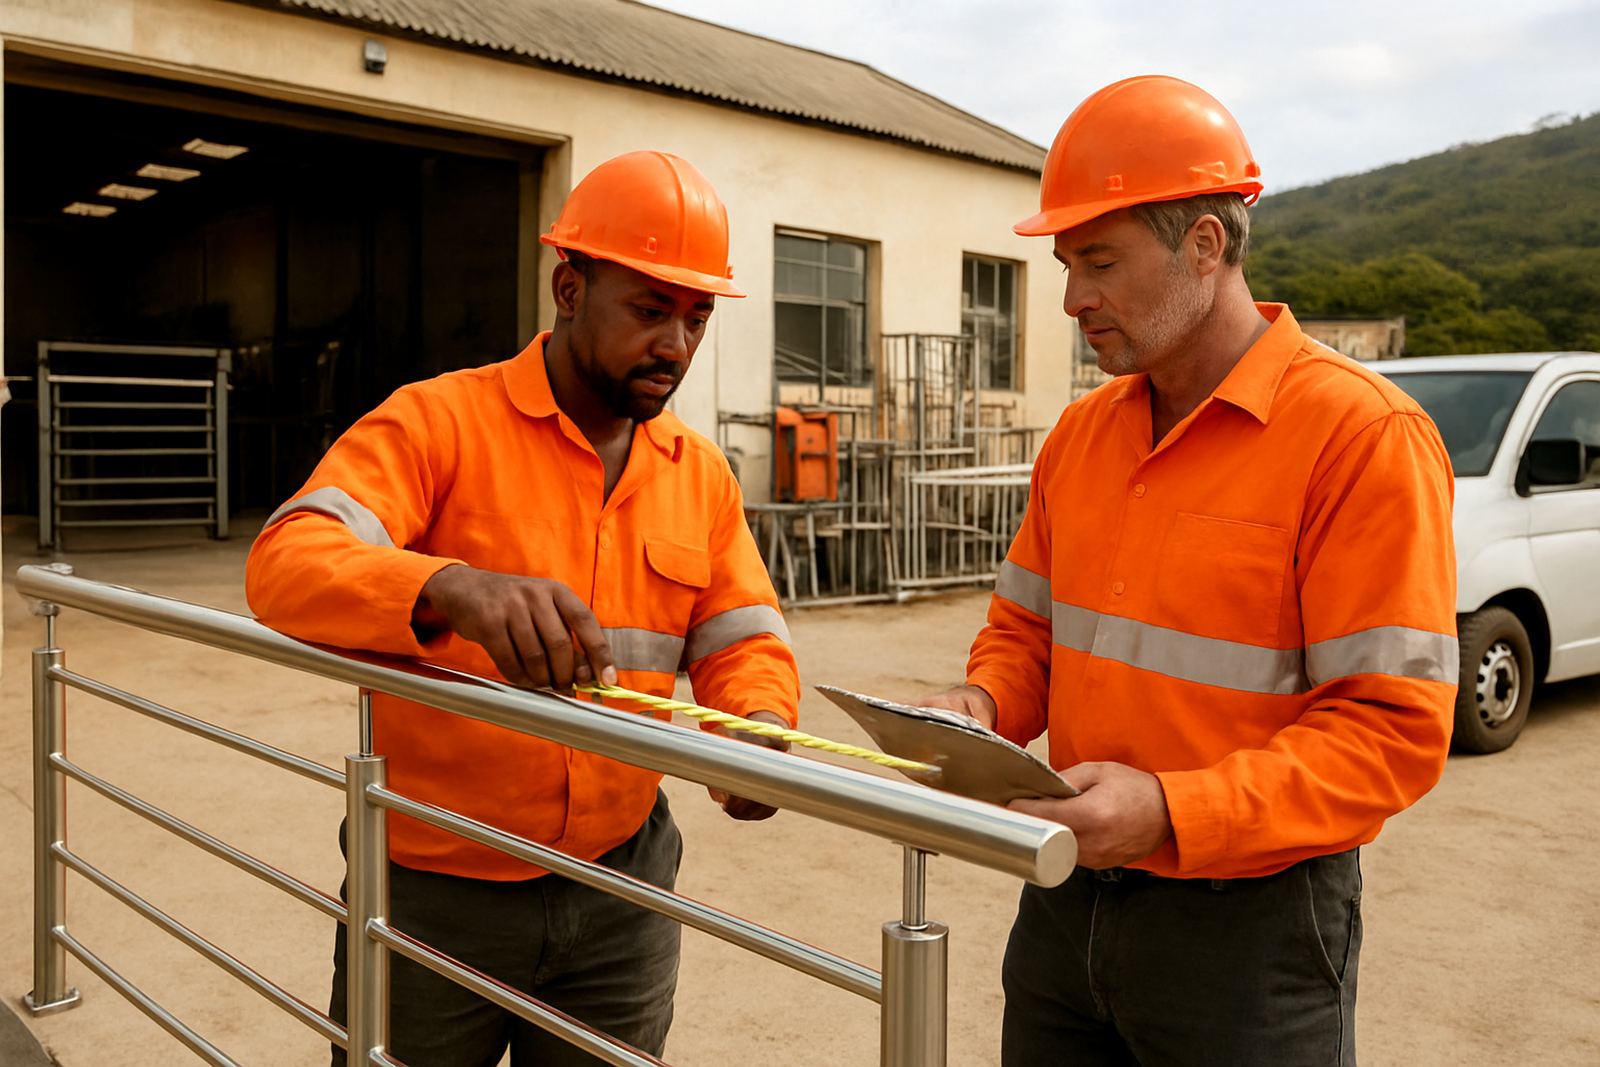
Balustrade quotes go quicker when we can see the full edge and the fall below it. Please include the top edge, the floor line and anything below the drop, such as paving, a stairwell or a pool edge. If there are glass panels, send a photo that shows the thickness if it is visible and the condition of the existing fittings.
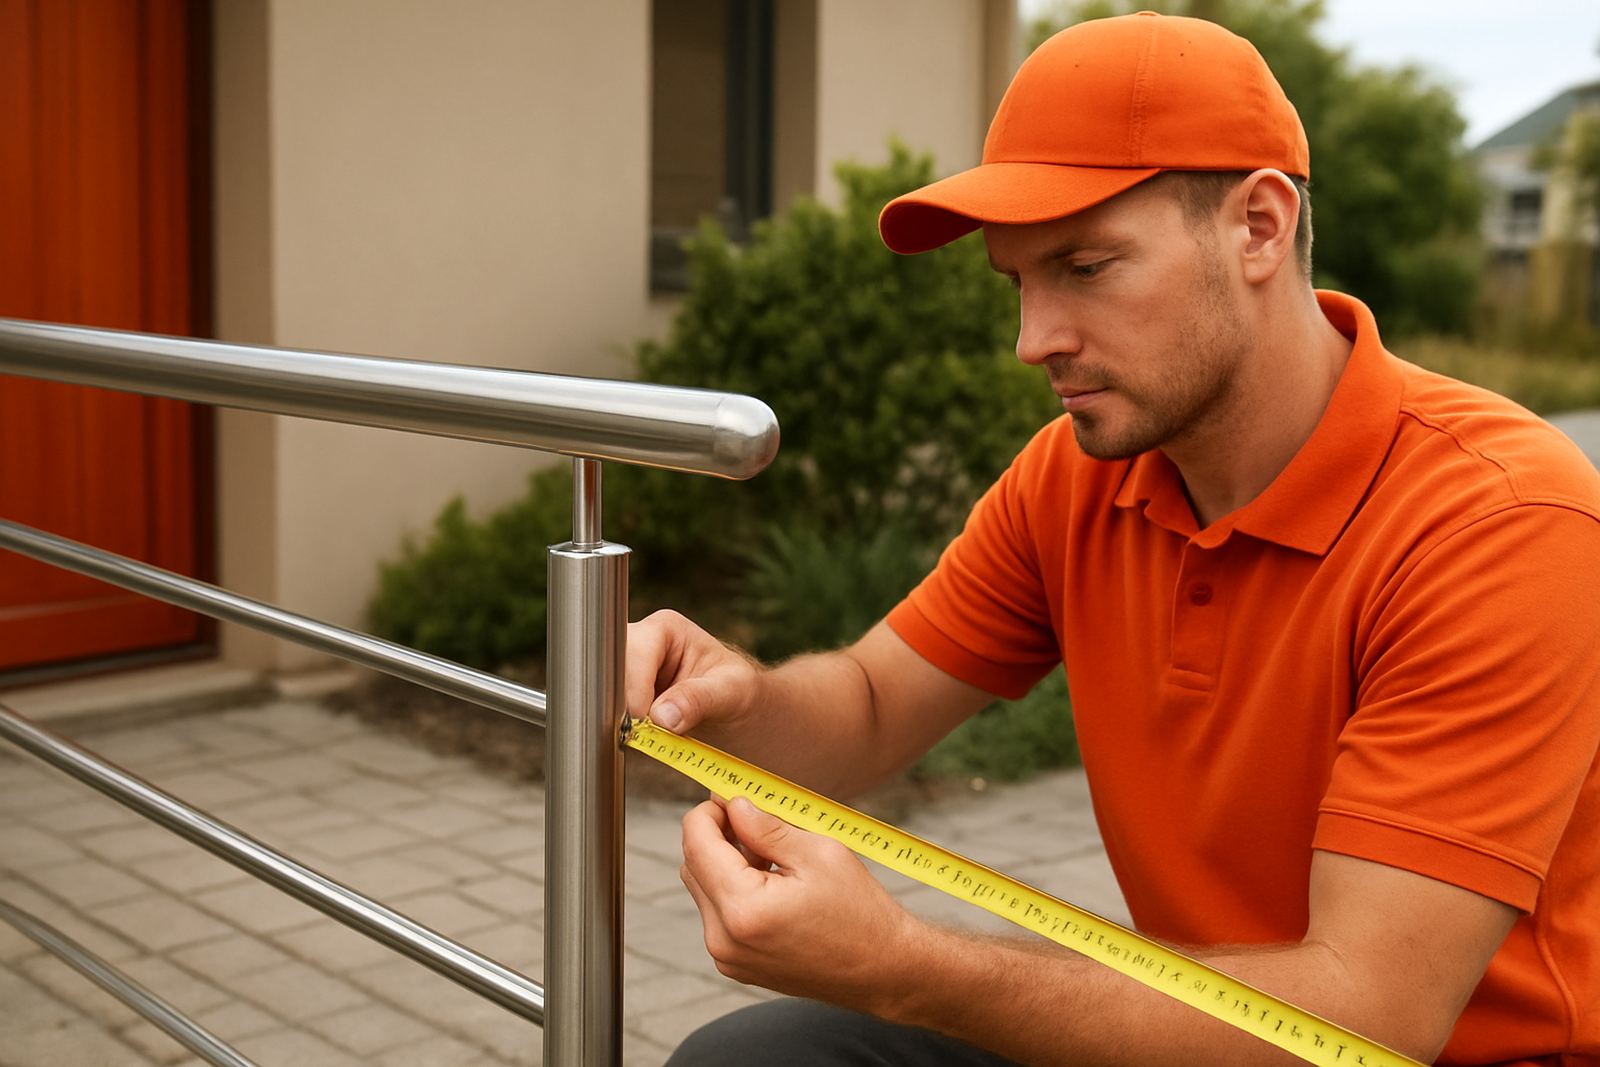
If the balustrade is replacing an old one, take pictures of the current posts, brackets and base plates. If a handrail is fixed into brick, concrete or steel, we need to know that too because the fixing method changes. A photo of the nearest tape measure against the opening helps a lot, even if it is only rough.
- Take photos from the top and bottom of stairs
- Show any uneven walls or sloping floors
- Include pool edges, deck edges and balconies
- Send a quick note with the approximate length in metres
For Gates, Send The Opening, Surrounds And Hardware
For gate work, we need to see the opening, the gate swing and what is around it. This matters for clearance, hinge position and whether the gate can open fully without hitting paving, walls or vehicles. If there is an old gate in place, send a photo of the hinges, latch, lock, stop and any drop bolts.
Please also show the ground level. A gate can look square in one photo but still drag if the paving is uneven or the driveway falls away. On coastal sites around Plettenberg Bay, Wilderness or Mossel Bay, salt air can also affect hardware, so it helps if you send photos of any existing corrosion too.
- Photograph the opening from inside and outside
- Show where the gate must swing or slide
- Include lock points, latches and stops
- If there is an automated opener, take a picture of the motor and arm area
For Custom Parts, Show The Item In Context
Custom stainless parts are easier to quote when we can see where they will live and how they are used. For example, a bracket for a marine fitout is not the same as a decorative trim for a reception counter or a part for a workshop trolley. A picture in context helps us understand size, load and finish.
If the part is a replacement, send a photo of the existing piece from the front and side. If it is a new part, show the equipment, cabinet, frame or mounting point it must fit onto. Please also tell us if it will sit outdoors, in a kitchen or near the sea because that affects the finish we recommend.
- Take one photo of the full item and one close photo of the mount
- Include any labels, holes, bends or cut-outs
- Show nearby pipes, cables or obstacles
- Tell us if the part must match an existing finish
Add A Few Simple Notes With The Photos
Photos work best when they come with a few practical notes. You do not need a full brief, just enough detail for us to price the job correctly the first time. If you know the approximate length, height, number of panels or number of steps, please include that in the message.
Also tell us where the site is, for example Knysna, George, Sedgefield or Gqeberha side of the route if you are planning ahead. Access details help too. If there is tight parking, a narrow lane, or stairs to carry material up, we need to factor that in before we book site measuring. That saves time later, and it keeps the quote honest.
- Site address or nearest town
- Approximate size in metres or number of items
- Preferred finish, if known
- Any deadline or access issue
What Not To Send, And What To Do Instead
Blurry photos, dark corners and pictures taken from too far away make it harder to quote accurately. One photo only is usually not enough. If you can, send three or four images so we can understand the job from different angles. A picture of the problem is useful, but a picture of the whole area is just as important.
If the job is urgent and power is out during load shedding, try again later in better light rather than sending something unclear. If you are unsure what to photograph, send what you have and add a short note. We will ask for the missing details if needed, rather than guessing and getting it wrong.
- Do not crop out the area around the item
- Do not stand so far away that the details are lost
- Do not send only one angle if the job has corners or bends
- If in doubt, send extra photos, not fewer